DIY UV DTF Transfer opens up a world of vibrant, durable prints for fabrics and invites makers to explore a hands-on path to personalization. This approach blends the flexibility of DTF transfer materials with the UV DTF transfer process, delivering fast curing and strong adhesion. To get started, gather a reliable heat press and UV printable transfer media, keeping safety tips in mind as you work with powders, solvents, and inks. Along with quality materials, follow DTF printing safety tips to protect your eyes and skin, and practice on scrap fabrics before committing to final projects. As you gain experience, you can build a portfolio of DIY heat press projects that showcase your style and keep learning with every garment.
In other terms, this UV-curable film transfer method is a DTF-inspired workflow where artwork is printed on a specialty sheet and cured with ultraviolet light before sticking to fabric. Think of it as a UV-ink garment transfer system that blends digital design with textile decoration, delivering sharp color and durable wear. Common descriptors include UV-curable transfer on fabrics, film-based textile printing, or a portable, at-home print solution for small runs. This approach helps makers scale up their personal projects from simple tees to caps, tote bags, and other fabric items while emphasizing safety, reuse of materials, and straightforward press applications.
DIY UV DTF Transfer: What It Is, Why It Works, and Key Concepts
DIY UV DTF Transfer blends UV-curable inks with a Direct-to-Film workflow. It relies on a UV DTF transfer process that cures inks quickly on a transfer film, allowing you to press vibrant designs onto fabric with strong wash resistance.
This approach offers gains in creative control and potential cost savings for small runs. Understanding the core concepts, such as why UV-curing matters and how the transfer film interacts with substrates, helps you decide if DIY UV DTF Transfer fits your projects and budget. It also lays the groundwork for choosing compatible DTF transfer materials and planning your workflow.
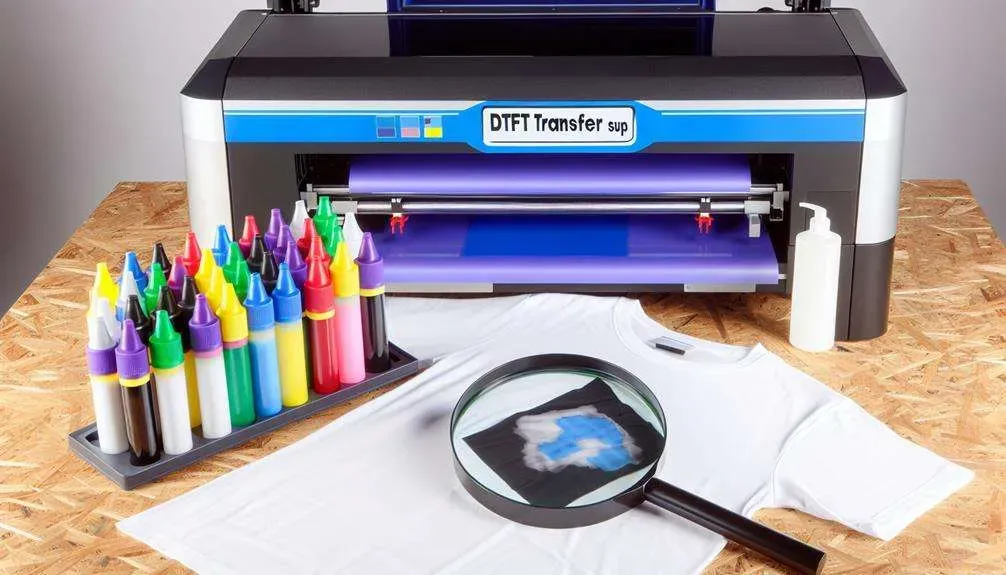
Choosing UV DTF Transfer Tools: Film, Inks, and The Heat Press
Selecting the right tools starts with UV DTF transfer film, UV-curable inks, and a curing light that works harmoniously with your printer or workflow. The compatibility between UV DTF transfer film and inks affects color fidelity, adhesion, and finish, so check specifications for UV printable transfer options and the expected cure times.
Beyond film and ink, invest in a reliable heat press with precise temperature and timer controls. A sturdy clamshell or swing-away model makes it easier to reproduce results across small runs. This section also covers essential items like protective sheets, lints rollers, and basic pre-press supplies to support consistent adhesion in your DIY heat press projects.
Safety Essentials: DTF Printing Safety Tips and Workspace Setup
DTF printing safety tips emphasize ventilation, personal protective equipment, and careful handling of powders, adhesives, and solvents. Work in a well-ventilated area and use safety glasses and heat-resistant gloves when operating hot equipment or dealing with powders.
Establish a clean, organized workspace to minimize cross-contamination and reduce the risk of accidents. Store chemicals and powders away from heat sources and ensure you follow label directions for curing, ventilation, and disposal. Maintaining safety practices protects both you and your finished UV printable transfer projects.
From Artwork to UV Printable Transfer: A Step-by-Step Guide
This guide follows the journey from artwork to a finished UV printable transfer. Start with high-resolution designs, ensure correct sizing for your garment, and export in a print-ready format that your workflow supports for the UV DTF transfer process.
Next, set up the transfer film with UV-curable inks, print, and cure under a UV light source. Pre-press the garment, apply any required adhesive, position the transfer, and press at the recommended temperature and time. Proper cooling and post-press care complete the process and set the stage for durable results.
Troubleshooting Common Issues in DIY UV DTF Transfers
Common issues include color fade after washing, edge cracking, or tacky surfaces. These problems often point to incomplete or uneven curing, improper pre-press conditions, or incorrect pressure.
Tackiness can be mitigated by confirming cure times and using compatible DTF transfer materials. Color shifts may require calibration of your printer and test prints on similar fabrics. A methodical approach to troubleshooting helps you refine your UV DTF transfer process and achieve consistently durable results.
Creative Projects and Maintenance: Expanding with DIY Heat Press Projects
DIY heat press projects open up a world of creative applications beyond T-shirts, including tote bags, hoodies, aprons, and hats. With UV printable transfer, you can craft vibrant designs on a range of substrates as you explore different textures, finishes, and hand-feel.
Maintenance is key to long-term success. Regularly clean the transfer film, check ink consistency, and service the heat press according to manufacturer guidelines. Keeping your equipment in good shape supports reliable results for your ongoing DIY heat press projects and helps you scale up to more complex designs.
Frequently Asked Questions
What is DIY UV DTF Transfer and what are the key steps in the UV DTF transfer process?
DIY UV DTF Transfer is a workflow that uses UV-curable inks on a DTF transfer film, cured with UV light, and then transferred to fabric with heat. The main steps in the UV DTF transfer process include artwork preparation, film/ink setup, printing, curing, garment prep, application with a heat press, and post-press care.
What are essential DTF transfer materials for a DIY UV DTF Transfer project?
Key DTF transfer materials include UV DTF transfer film, UV-curable or UV-ready inks, a UV curing light, a heat press, pre-press supplies, any adhesive powder or liquid adhesive your workflow requires, weeding tools, protective gear, and compatible fabrics or substrates for a UV printable transfer.
What safety tips should I follow when doing DIY UV DTF Transfer?
Follow DTF printing safety tips: work in a well-ventilated area, wear safety glasses and heat-resistant gloves, protect yourself from UV exposure when curing, handle powders and solvents carefully, and keep a clean, organized workspace to reduce risks.
Can I use a DIY heat press project setup for DIY UV DTF Transfer?
Yes. A reliable heat press with accurate temperature and timer controls is essential for DIY heat press projects using DIY UV DTF Transfer. Follow the manufacturer’s curing and pressing guidelines for the specific media you use.
What common issues might I encounter with DIY UV DTF Transfer and how can I troubleshoot the UV DTF transfer process?
Common issues include fading colors after washing, peeling or cracking, tacky surfaces, color shifts, and white ink opacity problems. Troubleshoot by ensuring complete UV curing, verifying heat and time settings, pre-pressing properly, testing on similar fabrics, and confirming correct adhesive or powder usage.
How should I care for DIY UV DTF Transfer prints to maximize durability of UV printable transfers?
Care for DIY UV DTF Transfer prints by turning garments inside out, washing cold and on gentle cycles, avoiding harsh bleaches, air-drying when possible, and storing away from direct sun. Re-press edges if needed and follow the transfer material’s care recommendations.
| Section | Key Points |
|---|---|
| What is DIY UV DTF Transfer? | A workflow using UV-curable inks on a DTF transfer film, cured and pressed onto fabric; yields vibrant, durable prints; offers potential cost savings, greater creative control, and customization; requires the right tools and safety practices. |
| UV DTF transfer process overview | Artwork prep; film/ink setup; printing; curing; garment prep; application; post-press care. |
| Tools and materials | UV DTF transfer film; UV-curable or UV-ready inks; UV curing light source; heat press; pre-press supplies; adhesive powder and curing tools; weeding tools; protective gear; substrates; printer/media (optional); cleaning supplies. |
| Choosing the right tools | Ensure ink/film compatibility with your system; match curing method and times; prioritize reliable adhesion and color fidelity; consider starter kits from reputable suppliers; plan for different finishes. |
| Step-by-step guide | Prepare artwork; set up film and inks; print and cure; prepare garment; apply adhesive if required; position and press; cool and finish. |
| Safety tips | Ventilation; PPE; UV exposure safety; heat safety; chemical handling; cleanliness. |
| Common challenges and troubleshooting | Fading colors after washing; peeling or cracking; sticky/tacky surface; color shifts or misalignment; white ink performance on dark fabrics. |
| Care and maintenance | Turn garments inside out; cold gentle wash; avoid harsh detergents; dry low or air-dry; store away from direct sun; inspect and re-press if edges lift. |
| Applications and project ideas | Custom apparel (tees, hoodies, bags); promotional items; limited-run merchandise; personalized gifts. |
| Final thoughts | DIY UV DTF Transfer can be cost-effective and empowering, but it requires careful tool choices, safety practices, and practice. Start small, document settings, and iterate to improve color, adhesion, and durability as you scale up. |
Summary
DIY UV DTF Transfer is a versatile technique that blends UV-curable inks with Direct-to-Film processes to produce vibrant, durable prints on textiles. By following a clear UV DTF transfer process, selecting reliable DTF transfer materials, and adhering to safety guidelines, hobbyists and small businesses can create professional-looking designs with confidence. Start small, document your settings, and iterate to refine color, adhesion, and wash durability. With careful preparation, proper tooling, and ongoing experimentation, DIY UV DTF Transfer opens exciting possibilities for custom apparel and creative projects.

