
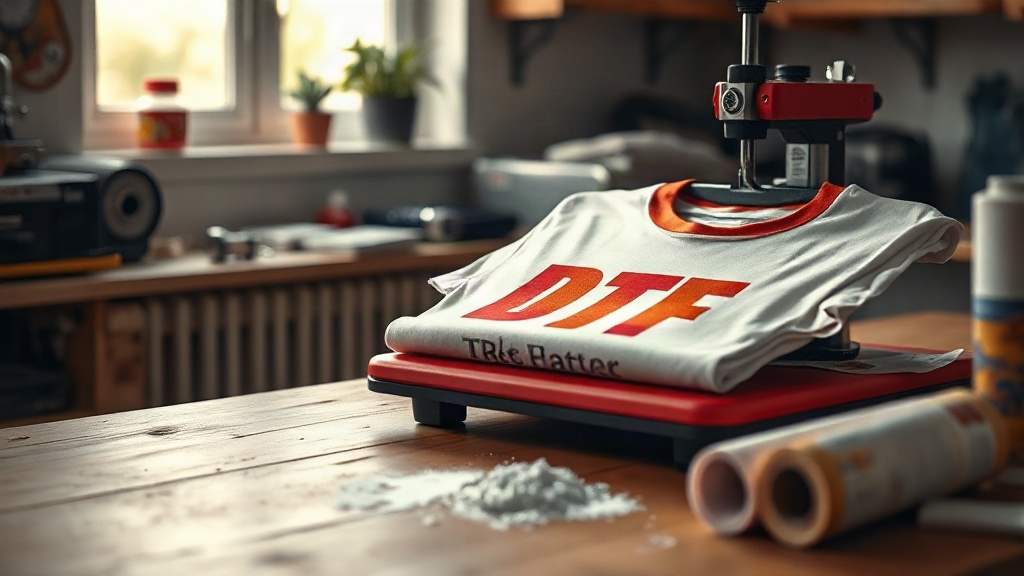
If you've been exploring custom apparel decoration, you've likely encountered DTF printing. Short for Direct-to-Film, this method has quickly become a favorite for small shops and hobbyists because it delivers vibrant, full-color transfers without the hassle of weeding or specialized equipment. But what exactly goes into a DTF transfer, and how can you get started? In this guide, we'll walk through the entire process, from designing your artwork to pressing the final product. Whether you're a seasoned screen printer looking to expand your offerings or a complete newbie, understanding DTF printing can open up new creative possibilities.
What Is DTF Printing?
DTF printing is a digital printing technique where your design is printed onto a special film, coated with a thermoplastic powder, and then heat-pressed onto fabric. Unlike DTG (Direct-to-Garment) printing, which requires pre-treatment and works best on 100% cotton, DTF transfers can be applied to a wide range of materials, including cotton, polyester, blends, and even leather. The process involves four main components: the DTF printer, DTF film, DTF ink, and DTF powder. Each plays a critical role in achieving a durable, wash-resistant print.
Why Choose DTF Printing?
There are several reasons why DTF printing has gained such a strong following. First, it eliminates the need for color separation and screen setup, making short runs and one-off designs economically viable. Second, the color gamut is impressive; you can print photorealistic images with fine gradients and details. Third, because the transfer is applied with heat and pressure, it adheres well to difficult fabrics like nylon and canvas. And unlike vinyl, DTF transfers don't require weeding, saving you hours of tedious work.
Essential Supplies for DTF Printing
Before you dive in, you'll need to gather the right tools. Here's a checklist of what you'll need:
- DTF printer (or a converted inkjet printer with DTF ink)
- DTF film (usually PET film with a matte side for printing)
- DTF ink (CMYK plus white)
- DTF powder (hot-melt adhesive powder)
- Heat press or heat gun with infrared thermometer
- Heat-resistant tape
- Parchment paper or Teflon sheet
Quality supplies matter. Cheaper films can cause ink smearing or poor powder adhesion, leading to cracked transfers after washing. Investing in reputable brands will save you frustration in the long run.
Step-by-Step DTF Printing Process
1. Designing Your Artwork
Start with a high-resolution image (300 DPI is ideal). If your design has a transparent background, the white ink layer will be printed underneath to make colors pop on dark garments. Remember that DTF transfers are printed in reverse, so you'll need to mirror your design horizontally before printing.
2. Printing onto DTF Film
Load your DTF film into the printer with the matte side facing the printhead. The printer will lay down a layer of white ink first, followed by CMYK colors. Some printers allow you to adjust white ink density, which affects opacity and vibrancy. After printing, the film will be wet; handle it carefully to avoid smudging.
3. Applying DTF Powder
While the ink is still wet, sprinkle DTF powder evenly over the printed area. Gently shake off excess powder, then tap the film to ensure an even coat. The powder should stick only to the wet ink. Any powder on the unprinted areas will melt and create a mess, so be thorough.
4. Curing the Powder
Place the film in a heat press or under a heat gun. The powder needs to reach a temperature of about 320°F (160°C) to melt and form a smooth, adhesive layer. This step is crucial; undercuring leads to poor wash durability, while overcuring can cause the film to warp. Use an infrared thermometer to check the temperature.
5. Pressing onto Fabric
Set your heat press to 325°F (163°C) with medium pressure. Pre-press the garment for a few seconds to remove moisture. Place the DTF transfer on the fabric with the printed side up, cover with parchment paper, and press for 15-20 seconds. For best results, use a cold peel: wait until the transfer cools completely before peeling off the film. This prevents the design from stretching or lifting.
Common DTF Printing Challenges and Solutions
Even with the best supplies, issues can arise. Here are some common problems and how to fix them:
- Ink smudging: Ensure the film is loaded correctly and the printer settings are optimized for DTF ink. Clean the printhead regularly.
- Powder not sticking: Work in a low-humidity environment. If the ink dries too quickly, increase the humidity or print a larger white layer.
- Cracking after washing: This usually indicates undercuring or insufficient pressure during pressing. Increase curing time or pressure.
- Dull colors: Make sure you're using a high white ink density and that the fabric is pre-pressed to remove wrinkles.
DTF vs. Other Printing Methods
How does DTF stack up against DTG, screen printing, and vinyl? DTF shines for full-color, short-run jobs on various fabrics. DTG is excellent for 100% cotton but requires pre-treatment and can be less durable on blends. Screen printing is cost-effective for large orders but has setup costs and color limitations. Vinyl is great for simple designs but can't handle complex gradients. DTF fills a niche for detailed, multi-color designs on diverse materials without the need for weeding or screens.
Tips for Success with DTF Printing
To get the most out of your DTF printing, keep these tips in mind:
- Store DTF film in a cool, dry place to prevent moisture absorption.
- Always perform a test press on scrap fabric to dial in your settings.
- Use a lint roller on garments before pressing to remove debris.
- For stretchy fabrics, add a small percentage of stretch additive to the powder or use a stretchable DTF powder.
- Keep a log of your settings for different fabrics; it will save time and reduce waste.
Frequently Asked Questions
What fabrics can I use with DTF transfers?
DTF transfers work on a wide range of fabrics, including cotton, polyester, cotton-poly blends, nylon, leather, and even some treated synthetic materials. The key is that the fabric can withstand the heat of the press (usually around 325°F) without scorching. For heat-sensitive fabrics, you can lower the temperature slightly and increase the pressing time.
How durable are DTF prints?
When properly applied, DTF prints are highly durable and can withstand dozens of washes without fading or cracking. To maximize longevity, wash garments inside out in cold water and avoid using bleach or fabric softeners. Tumble dry on low or hang dry.
Can I use a regular inkjet printer for DTF?
Not all inkjet printers are compatible with DTF inks. You need a printer that can handle the viscosity and pigment particle size of DTF ink, typically one with a printhead designed for white ink. Many people convert Epson printers for this purpose, but it's essential to use a dedicated DTF printer or a conversion kit to avoid clogging.
What is the difference between DTF and DTG?
DTG printing prints directly onto the garment, while DTF printing creates a transfer that is later applied. DTG requires pre-treatment and works best on 100% cotton, whereas DTF can be used on more fabrics and doesn't need pre-treatment. DTF also allows for more vibrant colors on dark garments due to the white ink layer.
How do I store DTF transfers?
Store unused DTF transfers in a cool, dry place, away from direct sunlight. Place them between sheets of parchment paper to prevent sticking. If stored properly, they can last for several months. Before pressing, ensure they are at room temperature to avoid condensation.