
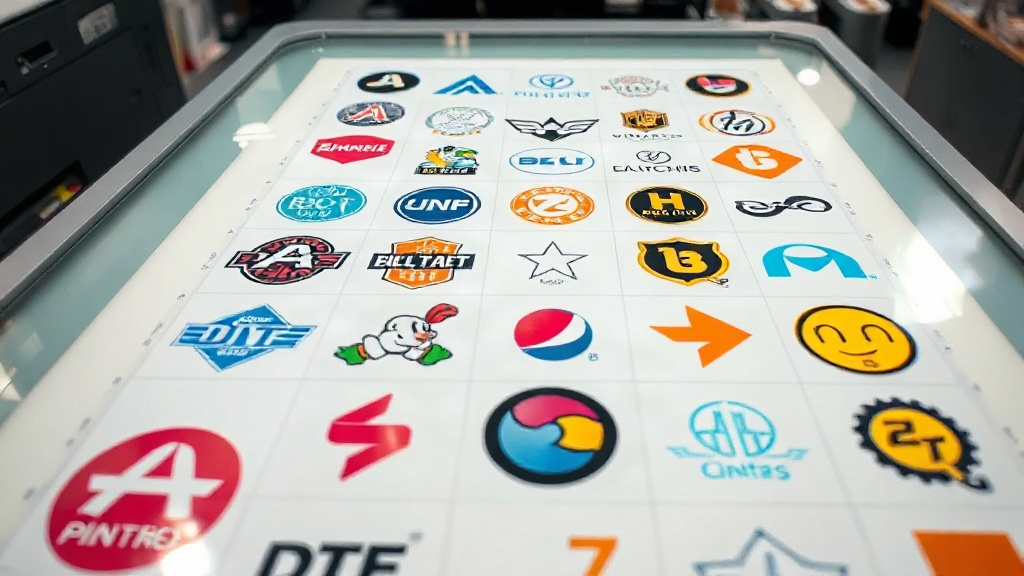
If you're in the custom apparel business, you've likely heard about DTF printing. It's a game-changer for transferring designs onto fabrics, offering vibrant colors and durability. But did you know that how you arrange your designs on the film can significantly impact your efficiency and bottom line? That's where the DTF gangsheet comes in. In this guide, we'll dive deep into what a gangsheet is, why it matters, and how to create one that maximizes your productivity.
What is a DTF Gangsheet?
A DTF gangsheet is essentially a large sheet of DTF transfer film that contains multiple designs arranged together in a single print job. Instead of printing each design individually, you consolidate them onto one sheet, hence the term 'gangsheet' (a gang of designs). This approach is widely used in screen printing, but it's equally powerful in DTF printing. By grouping designs, you save on film, ink, and time, while also reducing waste.
Why Use a Gangsheet?
The primary reason to use a DTF gangsheet is efficiency. When you print a single design, you still have to go through the same setup process: loading the film, adjusting settings, and running the printer. By combining multiple designs, you amortize that setup time across many items. Additionally, DTF film comes in rolls or sheets of standard sizes. If your design is small, printing it alone leaves a lot of unused film. A gangsheet allows you to fill that space, getting more out of each sheet.
Cost Savings
Let's talk money. DTF printing involves costs for film, ink, and powder. The more efficiently you use these materials, the lower your cost per transfer. A well-planned DTF gangsheet can reduce film waste by up to 50% or more. Ink usage is also optimized because you're not purging the printer as often. Over time, these savings add up, allowing you to offer competitive prices or increase your profit margins.
How to Create a DTF Gangsheet
Creating a gangsheet isn't complicated, but it does require some planning. You'll need design files, a computer with layout software, and a DTF printer. Here's a step-by-step guide:
- Gather Your Designs: Collect all the designs you want to print. Ensure they are high-resolution and properly sized. Remember that DTF prints are typically mirrored, so flip them horizontally if needed.
- Choose Your Film Size: DTF film comes in various widths, commonly 13", 17", 24", and 36". Select a size that accommodates your designs without excessive empty space.
- Use Layout Software: Programs like Adobe Photoshop, Illustrator, or dedicated RIP software (e.g., Cadlink, AcroRIP) allow you to arrange designs on a canvas that matches your film size. Some DTF printer manufacturers provide their own gangsheet tools.
- Arrange Designs Efficiently: Place designs close together but leave a small gap (e.g., 0.1-0.2 inches) to avoid color bleeding. Rotate designs if it helps fit more. Group similar sizes or colors to streamline cutting later.
- Add Registration Marks: If your printer supports it, add registration marks or crop marks to help with cutting. This is especially useful if you're using a cutting plotter.
- Print and Cure: Once your gangsheet is ready, print it onto DTF film, apply adhesive powder, and cure it according to your printer's specifications.
Tips for Optimizing Your Gangsheet
- Nesting: Use nesting techniques to fit irregular shapes together, minimizing wasted space.
- Batch by Color: If you're printing multiple copies of the same design, group them to reduce color changes and ink waste.
- Consider the Cut: If you'll be cutting by hand, leave enough space between designs for scissors or a trimmer. For automated cutters, ensure designs are spaced according to the cutter's requirements.
- Test Print: Before committing to a full gangsheet, do a small test print to check colors and alignment.
Common Mistakes to Avoid
Even experienced printers make mistakes when creating gangsheets. Here are a few pitfalls to watch out for:
- Overcrowding: Packing designs too tightly can cause ink smudging or difficulty in cutting. Leave adequate spacing.
- Forgetting to Mirror: DTF transfers are applied face down, so designs must be mirrored. If you forget, your text will be backwards.
- Ignoring Film Direction: Some films have a coated side; printing on the wrong side will ruin the transfer.
- Inconsistent Sizing: Double-check that each design is the correct size. A small error can lead to wasted film and time.
Benefits of Using a DTF Gangsheet
The advantages of gangsheets extend beyond cost savings. They also:
- Speed Up Production: Printing multiple designs at once means fewer print jobs and faster turnaround.
- Reduce Printer Wear: Fewer print jobs mean less wear and tear on your printer.
- Simplify Inventory: If you print popular designs in bulk, you can keep them in stock and ready to apply.
- Enable Small Batches: Gangsheets make it feasible to print small quantities of multiple designs without incurring high setup costs.
DTF Gangsheet vs. Individual Prints
Let's compare the two approaches. Printing individually is straightforward: one design, one print job. It's ideal for one-off custom orders or when you need a single transfer quickly. However, for any production scenario with multiple designs, gangsheets win hands down. They maximize material usage, reduce labor, and increase throughput. The only downside is the initial planning time, but once you have a template, it's quick to replicate.
Tools and Software for Creating Gangsheets
Several tools can help you create gangsheets efficiently. Here are some popular options:
- Adobe Photoshop: Great for manual layout, but lacks automation.
- Adobe Illustrator: Vector-based, ideal for precise placement.
- Cadlink Digital Factory: A RIP software with gangsheet features, including nesting and barcode generation.
- AcroRIP: Another RIP option with layout tools.
- Online Gangsheet Builders: Some DTF suppliers offer web-based tools where you upload designs and they arrange them for you.
Choose based on your budget and production volume. For high-volume shops, investing in dedicated RIP software pays off quickly.
Frequently Asked Questions
What is the ideal spacing between designs on a DTF gangsheet?
A general rule is to leave at least 0.1 to 0.2 inches (2.5 to 5 mm) between designs. This prevents ink from bleeding into adjacent designs and makes cutting easier. If you're using an automated cutter, check its specifications for minimum spacing.
Can I mix different designs on one gangsheet?
Absolutely! That's the whole point. You can mix any designs as long as they fit within the film dimensions. Just ensure they all require the same printing settings (e.g., ink coverage, white layer) to avoid inconsistencies.
How do I mirror designs for DTF printing?
In your design software, use the flip horizontal option. Most DTF RIP software automatically mirrors designs, but if you're printing directly from a graphics program, you must mirror manually. Always double-check before printing.
What film size should I use for my gangsheet?
Choose the film width that best fits your designs with minimal waste. Common widths are 13", 17", 24", and 36". If you frequently print small designs, a narrower roll might be more cost-effective. For larger batches, wider rolls reduce the number of sheets needed.
How do I calculate the cost per transfer on a gangsheet?
Calculate the total cost of film, ink, and powder used for the gangsheet, then divide by the number of transfers. This gives you the cost per transfer. Compare this to individual printing to see the savings. Keep in mind that labor time also factors into overall cost.
Mastering the DTF gangsheet is a skill that pays off. Whether you're a small home-based printer or a large commercial shop, adopting gangsheets can transform your workflow. Start small, experiment with layouts, and soon you'll wonder how you ever managed without them.