
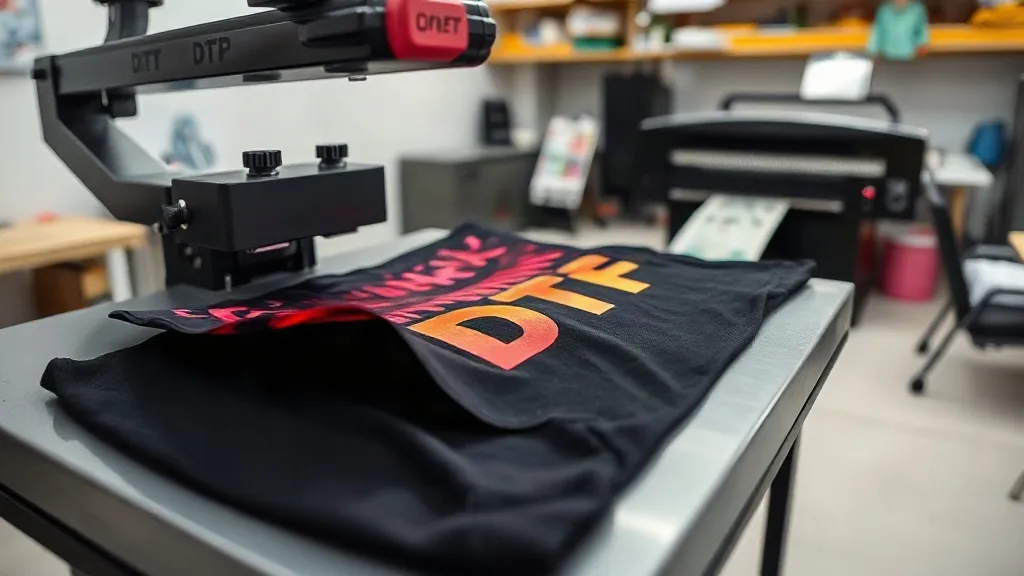
If you've been exploring custom apparel printing, you've likely encountered the term dtf. Direct-to-film printing has rapidly gained popularity for its versatility and ease of use, allowing vibrant, detailed designs on a wide range of fabrics. Unlike traditional methods that require specific garment types or extensive setup, dtf transfers offer a streamlined workflow that both beginners and professionals can master. In this guide, we'll walk you through everything you need to know to achieve flawless results, from understanding the technology to pressing like a pro.
What Are DTF Transfers?
DTF stands for Direct-to-Film, a printing process where your design is printed onto a special PET film using a DTF printer. The printer lays down CMYK inks plus white ink in a single pass, creating a transfer that can be applied to various materials. Once printed, the film is dusted with a hot-melt adhesive powder, which acts as the glue that bonds the ink to the fabric during heat pressing. This method eliminates the need for weeding or cutting, making it incredibly efficient for complex, multi-color designs.
The DTF Printing Process
The process begins with preparing your artwork in a graphics program. You'll need to mirror the image horizontally because the transfer is applied face-down. Then, the DTF printer prints the mirrored design onto the film. After printing, while the ink is still wet, you apply the adhesive powder evenly across the design. Excess powder is shaken off, and the film goes through a curing oven or heat press to melt the powder into a smooth, clear layer. Once cured, the transfer is ready to be stored or used immediately.
Why Choose DTF Transfers?
There are several compelling reasons to consider DTF for your next project. First, it works on almost any fabric: cotton, polyester, blends, and even treated nylon. Second, the prints are incredibly durable, withstanding repeated washes without fading or cracking. Third, the color vibrancy is outstanding because the white ink base allows bright colors to pop on dark garments. Finally, DTF is cost-effective for short runs since you don't need screens or plates, and you can print one-off designs easily.
Choosing the Right Supplies
To get started with DTF, you'll need a few key supplies. The quality of your materials directly impacts the final result, so it's worth investing in reputable brands.
DTF Printer and Inks
A dedicated DTF printer is essential. These printers are equipped with a white ink channel and a circulation system to prevent settling. Using third-party or low-quality inks can lead to clogs, poor adhesion, and dull colors. Always use inks formulated specifically for DTF. Similarly, the PET film must be designed for DTF; it has a special coating that releases the ink cleanly during pressing. Standard inkjet film won't work.
Adhesive Powder
The adhesive powder is what makes the transfer stick. There are two main types: TPU (thermoplastic polyurethane) and PA (polyamide). TPU is softer and more elastic, ideal for stretchy fabrics. PA is more rigid but offers excellent wash durability. Choose based on your fabric type and desired feel. Apply the powder evenly; too much can cause a stiff, plastic-like hand, while too little results in poor adhesion.
Step-by-Step: Applying DTF Transfers
Applying a DTF transfer is straightforward, but attention to detail ensures a professional finish. Follow these steps for best results.
- Preheat the garment: Set your heat press to the recommended temperature (usually 300-325°F / 150-160°C). Preheat the garment for 5-10 seconds to remove moisture and wrinkles.
- Position the transfer: Place the DTF transfer face-down on the garment. Ensure it's exactly where you want it; once pressed, it's permanent.
- Press: Apply medium to firm pressure for 10-15 seconds. The exact time depends on your press and film, so consult the transfer supplier's guidelines.
- Peel: After pressing, you can either peel the film while it's hot or wait for it to cool completely. Hot peel is faster, while cold peel can sometimes yield a smoother finish. Test both to see what works best with your setup.
- Post-press: For added durability, cover the design with a Teflon sheet or parchment paper and press again for 5-10 seconds. This ensures the adhesive fully bonds.
Common Mistakes to Avoid
Even experienced users can slip up. One frequent error is insufficient pressure, which leads to poor adhesion and early peeling. Another is using too much powder, resulting in a stiff, raised print. Also, avoid pressing on seams or zippers, as the uneven surface prevents even pressure. Finally, always test on a scrap garment before pressing a final product.
DTF vs. Other Printing Methods
How does DTF stack up against DTG, screen printing, and vinyl? Each method has its strengths and weaknesses.
- DTG (Direct-to-Garment): Best for 100% cotton, DTG offers a soft hand but requires pre-treatment and can be less vibrant on dark colors. DTF works on more fabrics and often has better durability.
- Screen Printing: Ideal for large orders, screen printing is cost-effective at high volumes but requires setup and is limited in color complexity. DTF excels for small batches and detailed designs.
- Vinyl (HTV): HTV is great for simple, single-color designs but can't handle gradients or fine details. DTF handles full-color images with ease.
Ultimately, DTF fills a niche for those who need versatility, vibrant colors, and low minimums. It's a fantastic addition to any print shop's offerings.
Tips for Long-Lasting Prints
To ensure your DTF transfers stand the test of time, follow these care instructions. Wait at least 24 hours before washing the garment. Turn it inside out and wash in cold water on a gentle cycle. Avoid bleach and fabric softeners, which can degrade the adhesive. Tumble dry on low or hang to dry. If ironing is necessary, do not iron directly on the print; use a pressing cloth. With proper care, DTF prints can last as long as the garment itself.
Frequently Asked Questions
Can I use DTF transfers on 100% polyester?
Yes, DTF transfers work exceptionally well on polyester. The low pressing temperature (around 300°F) prevents the fabric from scorching or melting, and the adhesive bonds strongly to synthetic fibers. Just be sure to use a lower temperature than you would for cotton to avoid damaging the garment.
How do I store unused DTF transfers?
Store them in a cool, dry place away from direct sunlight. Keep them in a sealed bag or container to prevent dust and moisture from affecting the adhesive. Properly stored transfers can last for several months without losing their effectiveness.
What is the best way to remove a DTF transfer if I make a mistake?
If you haven't pressed it yet, you can simply peel it off. If it's already pressed, you can try reheating the garment and peeling the transfer off while hot. For stubborn transfers, use a commercial adhesive remover designed for fabrics, but test on a small area first.
Do I need a special printer for DTF?
Yes, you need a DTF printer that supports white ink and has a powder shaking unit. Converting a regular printer is not recommended due to the unique requirements of DTF ink and film. Dedicated DTF printers are available from various manufacturers.
How long does a DTF transfer last?
With proper application and care, a DTF transfer can last 50+ washes or more. The key is following the correct pressing parameters and washing instructions. Avoid harsh chemicals and high heat to maximize longevity.
Mastering DTF transfers opens up a world of possibilities for custom apparel. Whether you're a hobbyist or a business owner, the technique offers unmatched flexibility and quality. With the right supplies and a bit of practice, you'll be creating stunning, durable prints in no time.