
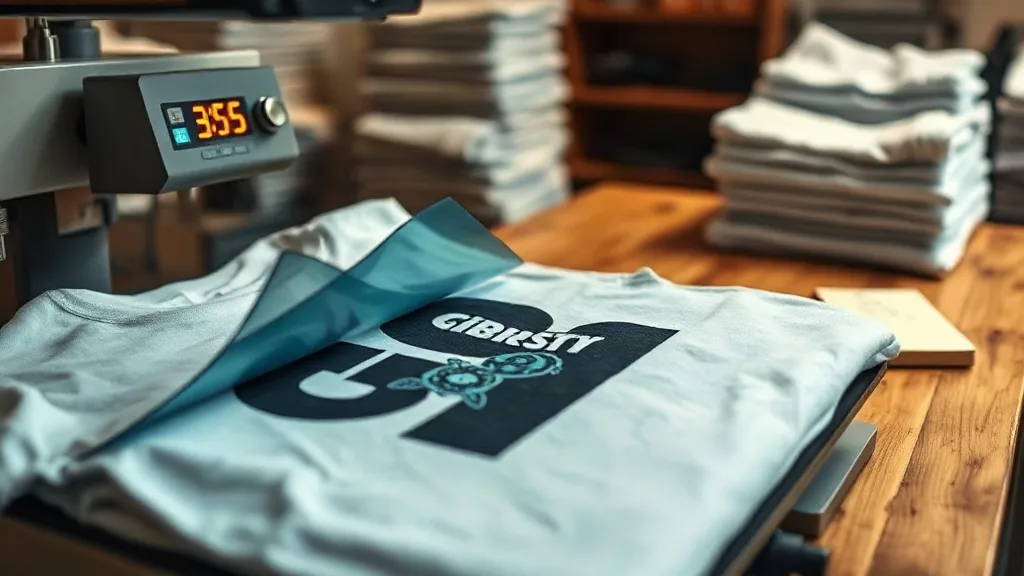
Most failed dtf transfers do not fail at the printer. They fail at the press. A transfer can come off the film looking crisp, with clean edges and rich color, and still peel at the collar within a week because the press was running twenty degrees cold or the operator peeled too early. If you have ever pulled a shirt from the dryer and found a corner of the design lifted, you already know the frustration of chasing settings that almost work.
The good news is that press settings are one of the few variables in a print shop you can fully control. Fabric still matters, storage still matters, and the quality of the film and powder matters, but temperature, pressure, and time are dials you can turn and verify. This guide walks through what each setting actually does, how to test your own press instead of trusting a spec sheet, and where the common failure points hide.
Why Press Settings Deserve Their Own Conversation
Ask ten dtf printers for their settings and you will get ten answers, often with the same numbers attached to very different results. That happens because a heat press is not a laboratory instrument. Platen temperature readings drift, pressure gauges lie, and the same 320F setting on two presses can behave like two different machines.
What matters is not the number on the display but what happens at the interface between film, adhesive powder, and fabric. Heat melts the adhesive so it can flow into the weave. Pressure pushes that melted adhesive into the fibers rather than letting it sit on top. Time gives both processes room to finish. Skimp on any one and the print bonds to the surface instead of the structure, which is exactly the bond that breaks first in the wash.
The three variables and what each one controls
- Temperature melts the adhesive powder. Too low and the powder never fully flows, leaving a grainy, weak bond. Too high and the film carrier can wrinkle or the adhesive can scorch and lose tack.
- Pressure drives the melted adhesive into the fabric. Light pressure leaves the print sitting on top of the weave, where abrasion and washing strip it away.
- Time is the window where heat and pressure do their work. Short dwells leave the center of a large design under-cured even when the edges look fine.
Starting Numbers Worth Testing
Treat any published setting as a starting point, not a final answer. A reasonable range for most dtf transfers on cotton and cotton blends sits around 300F to 320F for 12 to 15 seconds at medium to firm pressure, followed by a cold peel. Polyester often prefers the lower end of that range, while heavy canvas and thick fleece may need a few extra seconds to let heat penetrate.
These numbers are not universal. A press with a worn silicone pad transfers heat unevenly, and a press that has never been calibrated might read 15 degrees off. Before you build a workflow around a setting, confirm what your platen is actually doing.
How to check your press without a lab
Pick up an infrared thermometer and scan the platen across its surface while it is closed and idle. You are looking for two things: whether the average reading matches the display, and whether the corners read close to the center. A platen that runs hot in the middle and cool at the edges will produce prints that bond well in the center and fail at the corners, which is a pattern many operators misread as a film problem.
For pressure, close the press on a strip of copy paper and try to slide it out. It should resist but not tear. If the paper slides freely, you are running light. If you cannot move it at all, you may be crushing the adhesive and flattening the hand feel of the print.
Cold Peel Versus Hot Peel: Pick One and Stay Consistent
Most dtf film today is designed for a cold peel, meaning you let the garment cool for a few seconds before lifting the carrier. The adhesive is still soft when hot, and peeling early can pull the print away from the fabric before the bond sets. Waiting until the film is cool to the touch gives the adhesive time to grip.
The bigger issue is consistency. If one operator peels hot and another peels cold, your quality data becomes noise. You cannot tell whether a failure came from the press, the film batch, or the peel timing. Set one rule for the shop, write it on the wall next to the press, and hold everyone to it.
A second press for the final lock
After the cold peel, a short second press of 5 to 8 seconds with a cover sheet or parchment protects the print and pushes the adhesive fully into the weave. This step is easy to skip on busy days, and it is also the step that most improves wash durability on textured fabrics like tri-blends and fleece. If you only add one habit to your workflow, make it this one.
Matching Settings to Fabric, Not to Habit
A single setting across every garment in your shop is convenient and quietly expensive. Cotton canvas, 100% polyester performance wear, and tri-blend tees each respond differently to the same heat and pressure.
- 100% cotton: tolerates the higher end of the range and benefits from firmer pressure because the weave is tight and absorbent.
- Polyester and performance fabrics: lower temperature and shorter dwell reduce the risk of dye migration and shine. Watch for the fabric glazing under the platen.
- Tri-blends and heathered knits: need slightly more time because the surface is uneven, and the print has to bridge small gaps in the weave.
- Fleece and heavy knits: benefit from a pre-press to flatten the surface and remove moisture before the transfer goes down.
If you source blanks from several suppliers, keep a small log of which fabric took which setting and how it held up. Two or three wash tests will tell you more than any spec sheet, and the log becomes genuinely useful when a new blank arrives and you need a starting point.
When Prints Fail Anyway: Reading the Failure
Not every lifted print is a press problem, but the failure pattern usually points to the cause. A print that peels from the edges inward after washing often points to light pressure or a cold platen edge. A print that cracks across the middle suggests the adhesive flowed but the fabric stretched more than the film could follow, which is common on high-stretch knits pressed at low temperature. A print that feels rough and sandy after pressing usually means the powder did not fully melt, so check temperature first and dwell time second.
If you are ordering dtf transfers near me from a local supplier, ask what film and powder they use and whether their recommended settings assume a cold peel. Suppliers who know their materials can save you a week of trial and error, and the good ones will tell you which fabrics their transfers perform best on.
Building a Press Log That Pays for Itself
Start a simple log next to the press. Record the date, fabric, temperature, pressure feel, dwell time, and peel method for every new combination. Add a wash test result after five cycles. Within a month you will have a reference that turns guesswork into a repeatable process, and new employees can follow it instead of inheriting settings nobody can explain.
Press settings are not glamorous, but they are where the difference between a print that impresses on day one and a print that survives a season gets decided. Calibrate the platen, pick a peel rule, match settings to fabric, and log what works. The rest of the workflow gets easier once the press stops being the variable you cannot trust.
Frequently Asked Questions
What temperature should I use for DTF transfers on a cotton t-shirt?
Start around 315F to 320F for 12 to 15 seconds at medium to firm pressure, then cold peel. Confirm your platen actually reaches that temperature with an infrared thermometer, since displays commonly drift by 10 to 15 degrees.
Can I press a DTF transfer twice if the first press looked uneven?
Yes, and on textured fabrics a short second press of 5 to 8 seconds with a cover sheet is a good habit. Do not stack multiple full-length presses, though, because repeated heat can flatten the hand feel and stress the adhesive.
Why does my DTF print peel at the corners but hold in the middle?
That pattern usually means the platen runs cooler at the edges than the center. Scan the platen with an infrared thermometer while it is closed, and if the corners read low, either replace the heating element or reposition smaller designs toward the center.
Do I need different settings for polyester and cotton?
Often yes. Polyester and performance fabrics generally do better at the lower end of the temperature range with a shorter dwell to reduce dye migration and fabric shine, while cotton handles firmer pressure and slightly more heat.