
Walk into any small print shop that added dtf transfers in the last couple of years and you will usually hear the same story: the first batch looked incredible, the second batch cracked in the wash, and then someone spent a weekend reading forums trying to figure out why. DTF is genuinely forgiving compared to vinyl, but it is not magic. It rewards people who understand what the film, the powder, and the press are each doing, and it punishes anyone who treats it like a laminator that happens to print.
This guide is written from the perspective of a shop that runs small batches, takes walk-in orders, and cannot afford to reprint a 40-piece team order because the edges lifted. You will find the decisions that actually matter, the settings worth testing, and the failure modes that cost the most money.
What DTF printing actually involves
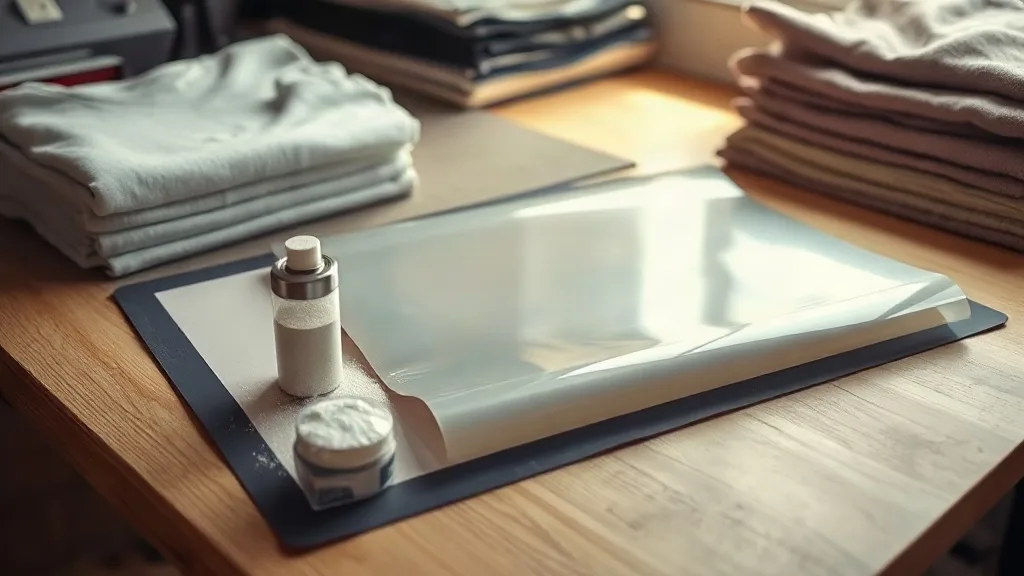
DTF stands for direct to film. A printer lays pigment ink onto a coated PET film in mirror image, then a shaker applies hot-melt adhesive powder to the wet ink. The powder fuses into the ink under heat, and that fused layer becomes the glue that bonds to fabric later. The printed sheet is then pressed onto a garment at a second station, allowed to cool, and the film is peeled away.
The important mental model: the film is a carrier, the ink is the color, and the powder is the adhesive. Almost every problem people blame on "bad DTF" traces back to one of those three components being mishandled.
Why the powder step decides your wash durability
Adhesive powder has to melt into the ink without scorching it. If the powder is applied too thinly, the transfer will look fine on the press and start flaking at the edges after a few washes. If it is applied too heavily, you get a stiff, plastic-feeling patch and a hazy halo around fine details. The sweet spot is a uniform coat that looks like a light dusting of snow, with no bare wet spots and no visible drifts.
Shops that struggle with durability almost always have a humidity problem rather than a powder problem. Adhesive powder absorbs moisture from the air, clumps, and then applies unevenly. Storing powder in a sealed container with a desiccant pack and letting it come to room temperature before opening makes a noticeable difference, especially in summer.
Choosing films and powders without overspending
Film comes in cold-peel and hot-peel variants, and the difference matters more than the marketing suggests.
- Cold peel films generally give a softer hand and sharper fine detail. You must let the transfer cool completely before peeling, which slows your workflow on busy days.
- Hot peel films let you strip the carrier almost immediately, which is a real advantage for high-volume runs. The trade-off is often a slightly thicker final feel and less tolerance for uneven pressure.
- Glitter and specialty films are fun for samples but behave differently under the press and usually need their own tested settings.
Powder grades are typically described by mesh size. Finer powder suits detailed artwork and gives a softer finish; coarser powder builds a stronger bond and copes better with stretchy fabrics. Many shops keep one fine and one standard grade on the shelf rather than chasing every option on the market.
Matching transfer to fabric
Cotton takes DTF easily. Polyester is where shops get surprised, because the garment's own dye can migrate into the transfer during pressing, and because polyester softens and can scorch faster than cotton. Low-temperature, longer-dwell pressing, plus a pre-press to drive off moisture, solves most of it. On stretchy blends, a finer powder layer and a slightly gentler peel angle keep the print from tearing at the edges when the garment flexes.
Press settings that hold up in production
Exact numbers vary by press, film brand, and garment, so treat any published chart as a starting point rather than gospel. That said, the logic behind the numbers is consistent.
- Pre-press the garment for a few seconds to remove moisture and flatten the surface. Skipping this is the single most common cause of poor adhesion.
- Press the transfer at medium pressure so the powder layer fully contacts the fabric without squashing detail.
- Follow the film's peel instruction. Cold peel means cold, not warm.
- Post-press briefly with a cover sheet to smooth the surface and lock the edges.
Keep a log. Write down film brand, powder grade, temperature, time, pressure setting, and garment composition for every new combination you run. Within a month you will have a reference that saves you from repeating a bad test, and you will stop guessing when a customer brings in an unusual fabric.
Pressure is the setting people ignore
Temperature gets all the attention, but pressure determines whether the adhesive actually reaches the fibers. Too little pressure and the transfer sits on top of the weave, peeling at the corners. Too much and the powder layer spreads, fine lines thicken, and the print feels rubbery. If your press has a gauge, note the reading. If it does not, count the turns on the pressure knob and stay consistent.
Troubleshooting the failures that cost money
Most complaints fall into a handful of predictable buckets.
- Edges lifting after washing: usually insufficient pressure, moisture in the garment, or uneven powder. Check the pre-press first.
- Dull or washed-out color: often under-cured ink or too much powder sitting on top of the color layer. It can also be a sign the film was printed too long before pressing.
- Cracking across large solid areas: thick ink deposits on stretchy fabric. Reduce ink laydown or switch to a finer powder.
- Ghosting or a halo around the design: powder scattered outside the printed area. Clean the film edges before pressing.
- Film sticking to the press: peel temperature is wrong for the film type, or the cover sheet was omitted.
When a batch fails, resist the urge to change three variables at once. Change one thing, run three test pieces, wash them, and check. It is slower for a single order and much faster across a year.
Cost, workflow, and when DTF is the right call
DTF wins on short runs, multi-color artwork, and orders with no minimum. A twelve-piece order with a photographic gradient is a nightmare in vinyl and a straightforward job in DTF. It also handles names and numbers on the same sheet as a full-color logo, which makes team and event work much simpler to gang up.
Where it loses: very large solid blocks of dark ink on lightweight shirts, where the hand feel becomes noticeable, and jobs that need a specific specialty finish that only screen printing delivers. Being honest with customers about that trade-off builds more trust than promising a universal solution.
For shops deciding where to source supplies, the practical advice is to test before committing to volume. Order small, run your own wash tests, and check whether the powder and film behave consistently across batches. Plenty of people search for dtf transfers near me hoping for a local supplier, but what they actually need is a supplier whose film and powder stay consistent order to order. Consistency beats proximity.
Building a repeatable process
The shops that make DTF look easy are not using secret settings. They have written down what works, they store powder properly, they pre-press every garment, and they wash-test new combinations before promising a customer anything. That is the whole trick.
Start with one film, one powder, and one press setting. Document it. Once you can reproduce a clean result ten times in a row, add a second film type or a specialty powder. Expanding in that order keeps failures small and cheap, and it gives you real answers when a customer asks how the print will hold up after fifty washes.
Frequently asked questions
How long do DTF transfers last in the wash?
With correct pressure, proper pre-pressing, and a consistent powder coat, most DTF prints hold up through dozens of normal wash cycles. Turn garments inside out, use cold water, and skip the dryer's highest setting to extend life. Poor adhesion almost always shows up in the first few washes, which makes early testing the most useful quality check you can run.
Can I apply DTF transfers to polyester without scorching it?
Yes. Use a lower temperature with a longer dwell, pre-press to remove moisture, and test a hidden area first. Polyester also carries a risk of dye migration, so a low-bleed film or a barrier layer helps on dark, saturated garments.
Do I need a special printer for DTF?
You need a printer capable of laying down white ink plus a powder application setup and a heat press. Many shops start by ordering ready-made transfers and pressing them in-house, which keeps the upfront cost low and lets them learn the press side before investing in printing equipment.
What is the difference between DTF and DTG?
DTG prints directly onto the garment, so it works best on cotton and needs a pretreatment step. DTF prints onto film first and transfers later, which lets you stock designs, press on demand, and work across a wider range of fabrics including blends and polyester.