
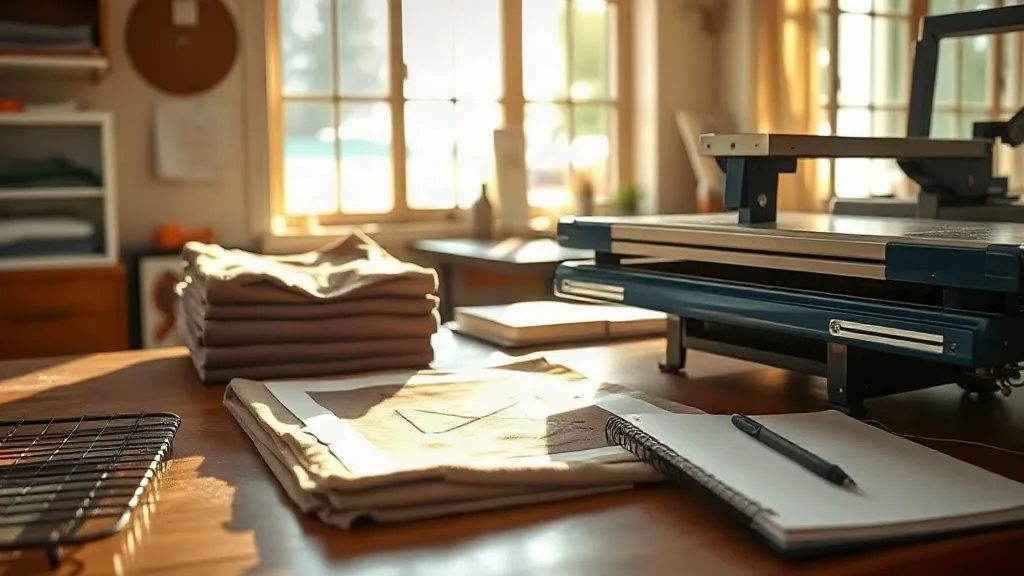
If you have printed on heavyweight streetwear blanks before, you already know the fabric decides half the outcome. shaka wear sits in that crowded middle ground of affordable, boxy, cotton-rich tees that shops reach for when a client wants a vintage feel without a premium price tag. The blanks are easy to source, they hold shape after washing, and the surface takes heat-applied transfers well, provided you treat the press settings as a starting point rather than gospel. This guide walks through what actually happens when a DTF transfer meets a Shaka tee, how to prep artwork so it stays crisp, and where a DTF Gangsheet Builder fits into a workflow that runs on small, varied orders.
Why Shaka Wear Blanks Earn Their Place in a Print Shop
Shaka Wear built its reputation on heavyweight cotton tees with a relaxed, slightly boxy cut. For decorators, that combination matters for two reasons. First, a heavier cotton face holds a transfer film flatter, so you get fewer wrinkles and edge lift during pressing. Second, the looser fit means the print area sits across a broad, relatively flat chest panel, which is friendlier to large front graphics than a slim-fit blank that curves away at the sides.
The fabric is usually a cotton or cotton-poly blend depending on the specific style, and that distinction is the single most important thing to check before you press anything. Pure cotton handles higher temperatures and takes a matte, slightly textured finish. Blends with a meaningful polyester content shift toward a smoother, sometimes glossier result, and they are more sensitive to heat. Read the label on the actual garment, not the product listing, because suppliers revise blends and the tag is the only reliable source.
What the hand feel tells you before you press
Run a thumb across the chest panel. A tight, smooth knit usually signals a blend that will press cleanly at moderate heat. A slightly rougher, more open knit is typically cotton, and it can absorb the adhesive better but may show a faint texture through thinner transfer films. Neither is a problem, but the difference should influence how you set your press and how thick your artwork's ink coverage needs to be.
Prepping Artwork for DTF on Boxy Streetwear Cuts
DTF gives you freedom from color separations, which is exactly why so many shops overbuild their files. On a Shaka tee, restraint pays off. A transfer with heavy solid fills across the full chest can feel stiff against a soft cotton face, and the contrast between a rigid print and a relaxed drape is noticeable the moment someone puts the shirt on.
- Keep fine hairlines above roughly one point at final print size, since very thin lines can break down during transfer.
- Avoid tiny isolated dots of color surrounded by negative space; they are the first elements to fail on a textured cotton surface.
- Leave a consistent margin from seams and hems so the film edges do not sit on a curved surface.
- Use a halftone or grain texture instead of flat gradients when you want a soft, worn-in look on heavyweight cotton.
Color accuracy deserves its own check. A bright white underbase is what makes colors pop on darker garments, but it also adds thickness. On a black or navy Shaka tee, a design with large white areas will feel heavier than the same design on a heather grey. If a client wants a soft hand on dark fabric, reduce the white coverage in the file rather than asking the press to compensate later.
Planning gangsheets around real order sizes
Most Shaka Wear orders are not five hundred pieces of one design. They are twenty pieces across three designs, or a team order with a front logo, a back number, and a sleeve mark. This is where a DTF Gangsheet Builder earns its keep. Instead of burning through film one design at a time, you nest multiple jobs onto a single sheet, fill the dead space with smaller elements, and cut down on wasted material and press cycles.
A practical habit: build the gangsheet around your week's confirmed orders, not around a single client. Group jobs that share a similar fabric type so your press settings stay consistent across the sheet. Mixing a cotton-heavy run with a poly-blend run on the same sheet forces you to compromise on temperature, and compromise is where defects creep in.
Press Settings That Actually Hold Up
Manufacturer guidance varies, and every press runs a little differently, so treat the numbers below as a calibration starting point. Press a scrap garment from the same style and blend before you commit a full order.
- Pre-press the garment for a few seconds to drive out moisture. Cotton holds ambient humidity, and trapped moisture is a common cause of poor adhesion.
- Position the transfer with the printed side facing up and the adhesive side against the fabric.
- Apply medium pressure at a moderate temperature, then peel according to the film type. Cold peel and hot peel films behave differently, and using the wrong peel timing is the most frequent mistake.
- Finish with a short second press using a cover sheet or parchment to lock the edges and smooth the surface.
After pressing, let the garment cool completely before you fold or stack it. Stacking warm shirts traps heat and can cause transfers to bond to whatever is touching them. A simple cooling rack saves more reprints than any single press adjustment.
Wash testing without a lab
You do not need formal testing to learn how a transfer performs. Print one sample on the exact Shaka style you are selling, wash it inside out in cold water, and tumble dry low three times. Check the edges for lift, the surface for cracking, and the color for fading. Photograph the result and keep it with your order notes. Over a few months, those photos become a reliable reference for which film and settings combination suits which blank, and they are far more useful than a generic durability claim.
Common Problems and How to Read Them
Edge lift on a heavyweight cotton tee usually points to uneven pressure or a garment that was not pre-pressed. Cracking across a large solid area often means the transfer was stretched while warm or the ink coverage was too heavy for the fabric weave. A dull, cloudy finish on a blend usually signals too much heat. Each symptom points to one variable, so change one thing at a time and keep a simple log of temperature, time, pressure, and film type. Shops that log their presses reprint far less than shops that guess.
Frequently Asked Questions
Can you use DTF transfers on Shaka Wear poly blends?
Yes, but lower the temperature and shorten the dwell time compared with pure cotton. Polyester blends are more heat sensitive and can show scorching or a glossy sheen if pressed too hot. Always test on a scrap from the same style first.
How large can a DTF print be on a Shaka Wear tee?
Most standard Shaka cuts handle a full front panel print comfortably, but stay clear of the side seams and the collar curve. Measure the actual flat print area of your size run, since a boxy cut gives more usable width than a slim fit.
Is a gangsheet worth it for small Shaka Wear orders?
For orders under fifty pieces across multiple designs, yes. Nesting several jobs on one sheet reduces film waste and press cycles, and it lets you fill gaps with small elements like sleeve marks or neck labels that would otherwise need their own run.
How should Shaka Wear shirts with DTF prints be washed?
Turn the garment inside out, wash cold, and tumble dry low or hang dry. Avoid fabric softener on the printed area and skip high heat, which stresses both the adhesive and the cotton face over time.